


Don't Steal!
Before starting this article, I need to clear a couple of things. I know some people are very upset about piracy, while others go on the full “steal everything” part. There’s no right and wrong here, but I do have some strong beliefs:
- Making a copy of something you already paid for is not stealing.
- Support the artists you care about, especially the smaller ones. I don’t give a shit if Metallica’s members don’t buy a 47th yacht because I am pirating something, but I do care when a small artist has to work two jobs because the art life is not enough to support a decent living.
- If you plan to do such bootlegs, don’t fucking try to sell them. It’s petty and makes you look like a dick.
With the above said, the reasons I make these bootlegs are multiple. First of all, I always make bootlegs of things I own (be it on physical media or digital), and all the bootlegs I make are on formats where the artist didn’t use to release the work already. I made minidiscs after CDs and vinyl, cassettes after digitals, and all other weird combos.
I love making these, mostly because it makes me get closer to the said material, but is a great gift idea, either for a friend that’s a big fan of that material, or for the artists! I honestly think that imitation is the best form of flattery, and since I don’t play any instrument, making a bootleg of some sort is also a nice gesture. I gave some of the bootlegs I made, but never sold them, because they are somehow part of me and I never wanted to turn a profit or something out of these.
Ripping the original media
First of all, I rip the original media at very high quality, usually uncompressed FLAC. Why? Because space is not an issue and storage is getting cheaper with each day. An 8TB hard drive is fairly cheap and slaps roof this bad boy can fit so much spaghetti music in it.
For ripping a CD it’s super easy, open up XLD, which also has great options: you can do batch processing (with auto starting ripping and auto-ejecting the CD at the end of the ripping process). It also supports CD TEXT data, and if that is not supported or found, integrates with MuzicBrainz, or you can just add the tracklist from a Discogs release (which is fucking mindblowing!).


For ripping vinyl records, I used a Sony turntable with an USB capture device, but since I gave that away, I am now using the M-Audio M-Track 2X2M and either my Audio-Technica AT-LP60X for vinyl, or one of my Technics tape decks, the RS-AZ7, or the double RS-TR575 deck, because their quality is higher, and they support Dolby Noise Reduction.
As software, I use Audacity for the recording process. Just choose the M-Audio interface as the input source, hit record in Audacity, then hit play on the and Magic Cutter for easy splitting the recording into separate tracks. Additionally, I use my old To MP3 Converter a for easy conversion to mp3 (I won’t give them a link because I am pissed that they changed their app from one-time purchase to a shitty subscription model, greedy bastards.) In terms of bitrate, I usually go with 64-320kbps variable bitrate, because the quali†y loss is negligible and I only need the mp3s if I want to add the songs to iTunes/Music.app to have them on one of my iPods.
Alternatively, some artists are releasing their new albums on bandcamp, which is super cool, because you can get access to FLAC/WAV files while supporting the artist. Win-win!


Making a bootleg cassette tape
Once the media is done, I import the album as a new collection in VOX and this allows me to see how long the playlist will run. If it’s close to an hour, I’ll use a 60 minute tape, if it’s shorter, I’ll do it on a 46 minutes tape, then split the “collection” in two fairly equal playlists, one for each side.
Using a 3.5mm Jack to 2xRCA cable, I connect my computer to my Technics RS-AZ7, because it has a dedicated writing head, and also has a “virtual battery”, pretty much a voltage regulator, to ensure there’s no interference from the current coming out of the socket. I rewind the tape on its A side, hit record and then hit play on the VOX player. I monitor the bars on the recorder to ensure the recording volume isn’t too loud to stay in the red and cause sound clipping, and is not very quiet. After I record a minute or a song, I stop the process, take the cassette out, insert it in the Technics RS-TR575 and play it on my loud speakers. I then rewind it and test it a bit on an older Nordmende walkman and as well on a newer walkman, the one that came on the Deliric x Silent Strike - III box set.
If everything is well, I rewind the tape again and start recording the entire A side. I then turn the tape to the other side and record the other side.

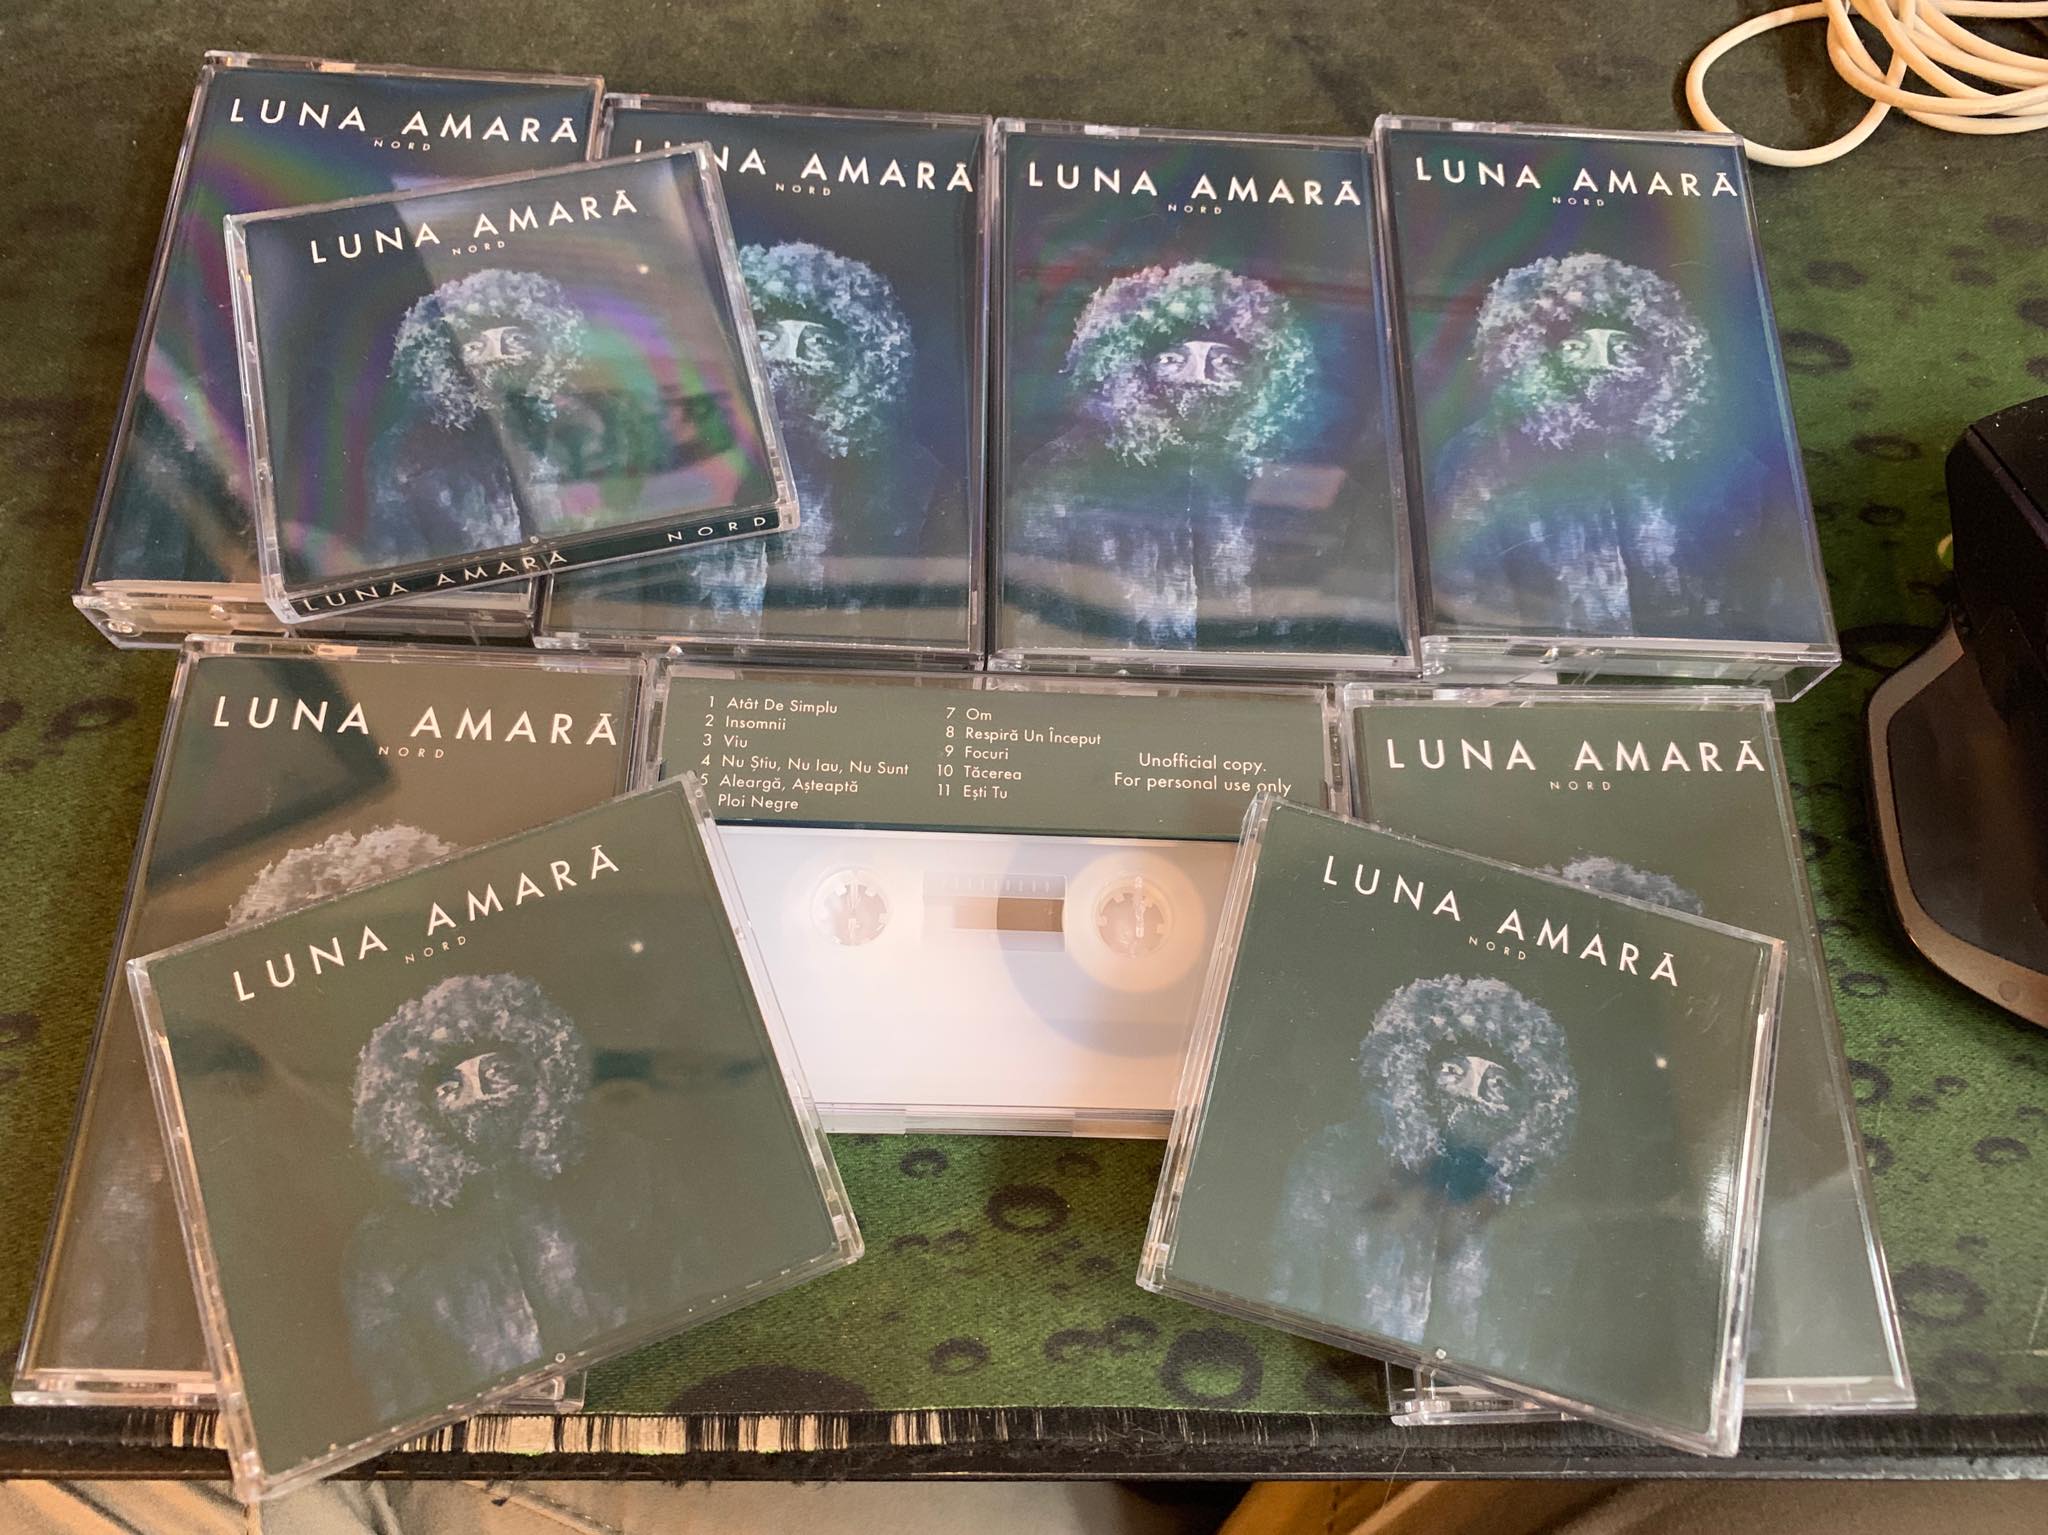
While the cassette is recording, I fire up Photoshop and I start to make some J-card covers. Usually it’s a variation of the original cover, usually stretched and a bit modified to fit the media size, which is fairly easy if you have a bit of Photoshop knowledge. If you’re lazy, I’ve added a couple of templates at the end, so you can edit them as you wish. The PSD files have their page set up at A4 (the European standard), at 300 dpi, because even if these are bootlegs, it doesn’t mean they have to be crappy. When everything is done, I print a fast draft on plain paper and roughly cut it to size, to see how it feels in the case. If everything is fine, I print it on premium paper with a better print quality, so it looks all nice and smooth. I then cut it and put it into the case. Depending on how many copies I want to make, I show more or less on the page (although I usually do one, I’ve done several copies of the “Nord” album by Luna Amară for example). I also print some simple text labels for the tapes themselves, but I don’t have a proper template for those, I just wing it.


If you want the PSD files for the covers, check out the “Downloads” section at the end of the article. Next to the adapted cover of the album “Acid” by Marius Matache, I’ve also added some minimalist plaintext covers, which are really nice to use in case you want to do some series. I used this to make covers for a few cassettes with games for the Commodore 64
Once a tape is finished, I have two options, depending on how many copies I want to do.
- Restart the process for each tape, but that’s pretty time consuming.
- Use the first tape as a “master” tape and use my Technics RS-TR575 double deck to fast copy several other tapes, as the deck has 2x copying.
You can see below a few tapes I made at some point. Fun fact, for the Luna Amară “Nord” cassettes, I ordered them from the UK at a specific length on white translucid tapes. Coincidentally, after the white translucid vinyl and black vinyl repress, it’s being released this year on white vinyl (it’ll appear in the “records” section soon).


Recording a minidisc
If I plan to do a minidisc there’s no time constraint, as usually albums are less than 74 minutes long, the length of a minidisc. However, it’s where things start to become a bit trickier. The most easy would have been to put one in my Technics SJ-MD100 Minidisc Deck, hit record, verify a track if the record level is fine and then manually use the jog dial to set titles on the minidisc, but that is tedious as hell and I’ll probably destroy that three-way button on my unit, so I’d rather not do that.


So we go for the second option, which is way easier, faster and produces very good results with only a fraction of the effort. I grab my Sony Vaio - PCG-7A1M - VGN-FS215M (who the fuck names these things?) and fire up Sony Sonicstage application and import the FLAC files, which I previously converted to mp3, as the quality of the ATRAC codec used by Sonicstage is pretty much on par with the very high bitrate setting I have for mp3 files. If you want to download it, there’s a good source for it on The Internet Archive.
I could convert the FLACs I ripped in the previous step to WAV, but it’s a waste of space. Additionally, I can simply import a CD to the Sonicstage Library using its internal CD ripper and save the songs using the Sony’s proprietary ATRAC codec, albeit at 192kbps, way more than the default 64kbps (Sony claimed they had the same quality as an 128kbit MP3 file, but a bit more quality is never a bad thing).
Connecting the Sony Walkman Minidisc MZ-N505 to the computer using a mini-USB to USB cable, the recording of a full album takes about 40 minutes, which is about 1.8x of the playback speed. A bit on the slow side, but the result is absolutely flawless and this gives us some time to fire up Photoshop once again to add some covers together. I’ve also added the Photoshop template at the end of the article, in the Downloads section. However, this file doesn’t have cutting guides, but you can eyeball it. The template contains my adapted cover for the album “Solaar” by Om la lună.


Conclusion
While this process needs some prerequisites to be fulfilled in advance, it’s a fun activity to do which makes me get a bit closer to the album, and it also puts that said album (or compilation) on a short list, as I come back at my bootlegs every now and then and carry some with me whenever I feel like listening a tape or a minidisc on the go. I could go one step further and make some CDs, but while they are fun as well, I don’t have a decent portable CD player and I don’t think it has the same coolness factor and impact that popping a walkman or a minidisc player has.